This tutorial explains how to extrapolate a "synthetic" color channel from two existing color channels. (If you're unfamiliar with how spacecraft make color images, read this.) Incomplete color coverage is relatively common and in most cases, an intentional outcome. Data budgets are relatively tight for a number of reasons: onboard space is limited, transmission is slow, and ground stations for reception are heavily booked. If a color filter doesn't add useful information for a researcher, sending back data taken with that filter doesn't make a lot of sense.
Extrapolation makes use of a somewhat dangerous assumption in color processing. Most planetary surface surfaces show relatively gradual changes in the way they reflect light. Let's say we only have photos of an object taken through a blue filter and a green filter. If the object is dark in the blue image, and brighter in the green wavelengths, the assumption in creating a synthetic red filter would be that it is brighter still at red wavelengths. The danger in this assumption is that we don't know if these trends actually continue. In reality, the object might be green, which would imply that it is also dark at red wavelengths. In this case, our assumption would be incorrect, and we might totally misrepresent the color of the object.
However, this method does have its uses. This is particularly the case for the Voyager spacecraft, which used an analog TV imager called a vidicon. This type of imager relied on the photoelectric effect, in which a photon struck a metal plate and created a charge by knocking loose an electron. However, photons below a certain critical wavelength no longer have the energy to knock loose an electron. For the type of sensor used by Voyager, this meant that the sensitivity dropped off rapidly in the red region of the spectrum, effectively making it red-blind. The spacecraft used an orange filter as a substitute for red. In addition, as the spacecraft got further from the Sun, the lower sensitivity to orange light began to require exposures long enough to impact science operations. For this reason, the spacecraft switched to shooting violet-green or blue-green imaging pairs, with the occasional orange image taken for reference.
This tutorial uses Photoshop CC but takes advantage of features found in most photo editing packages. It makes use of the technique of image subtraction. If you're not sure what those are, read here for a brief overview and here for a tutorial in applying it to an image.
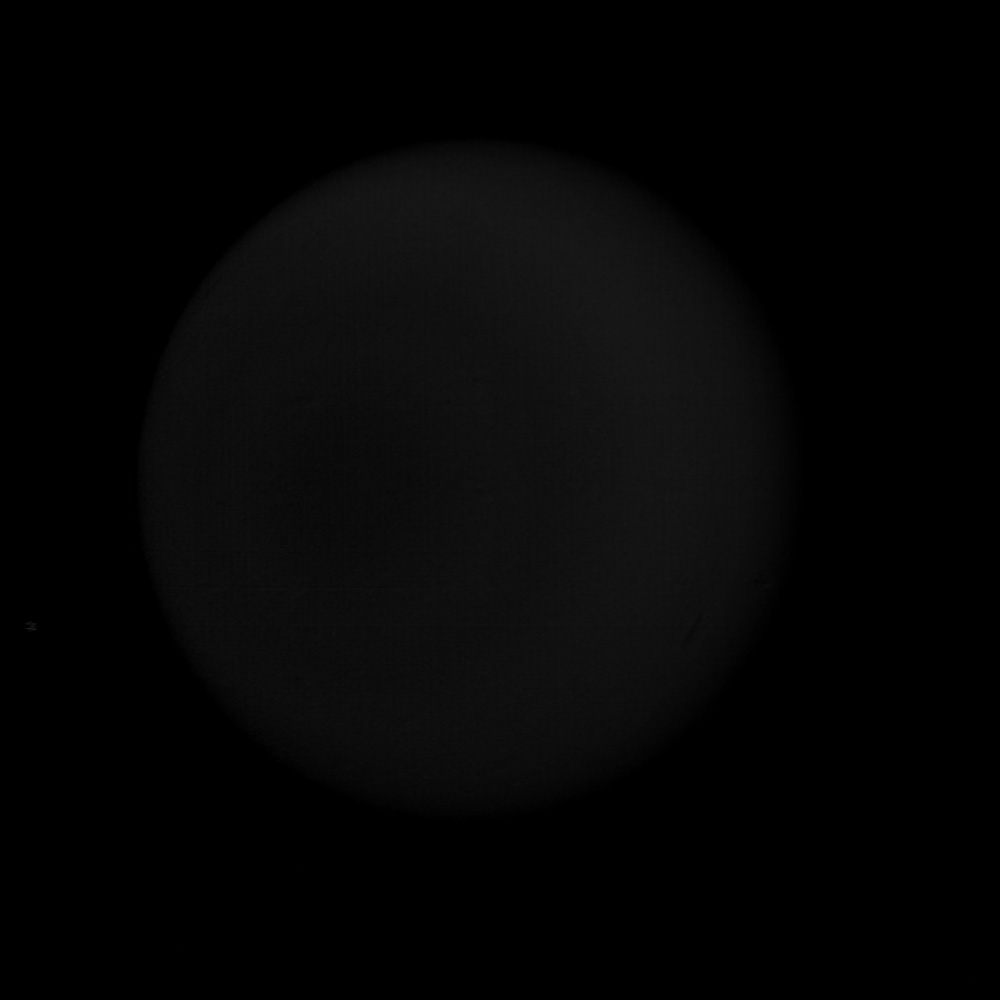
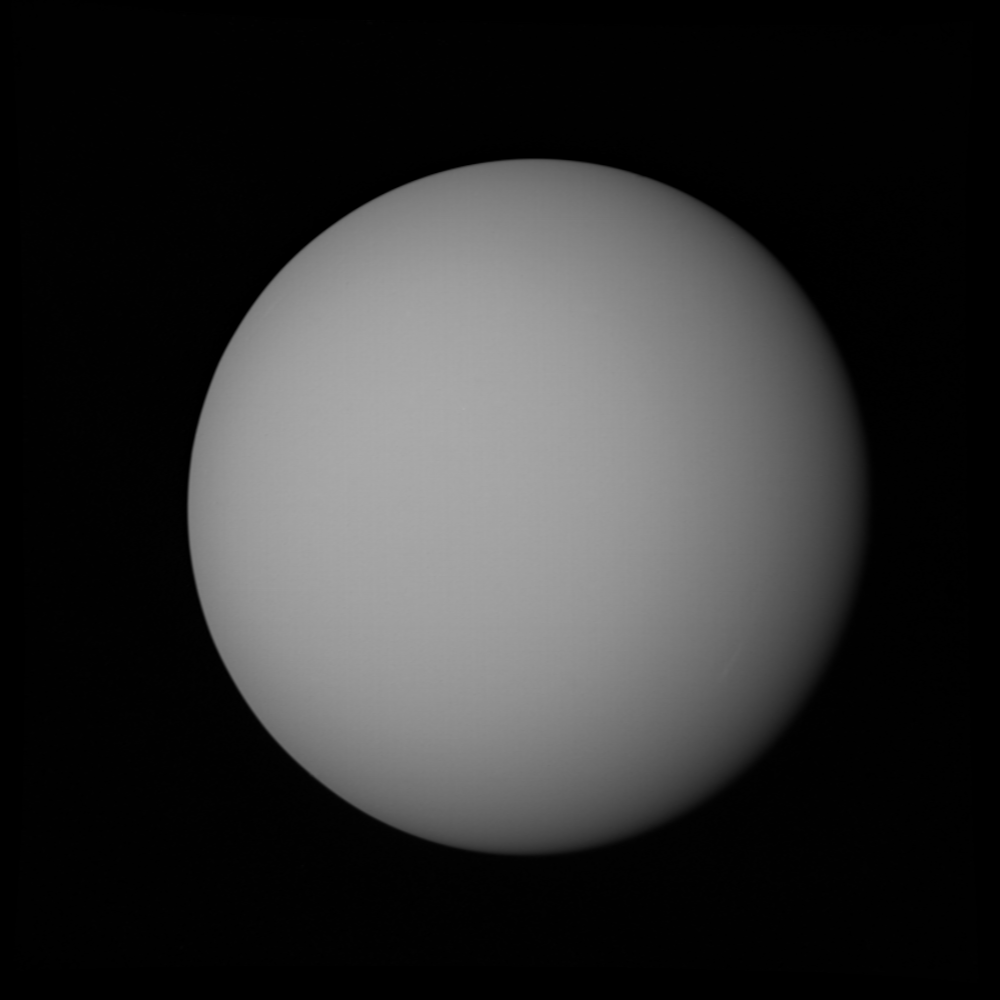
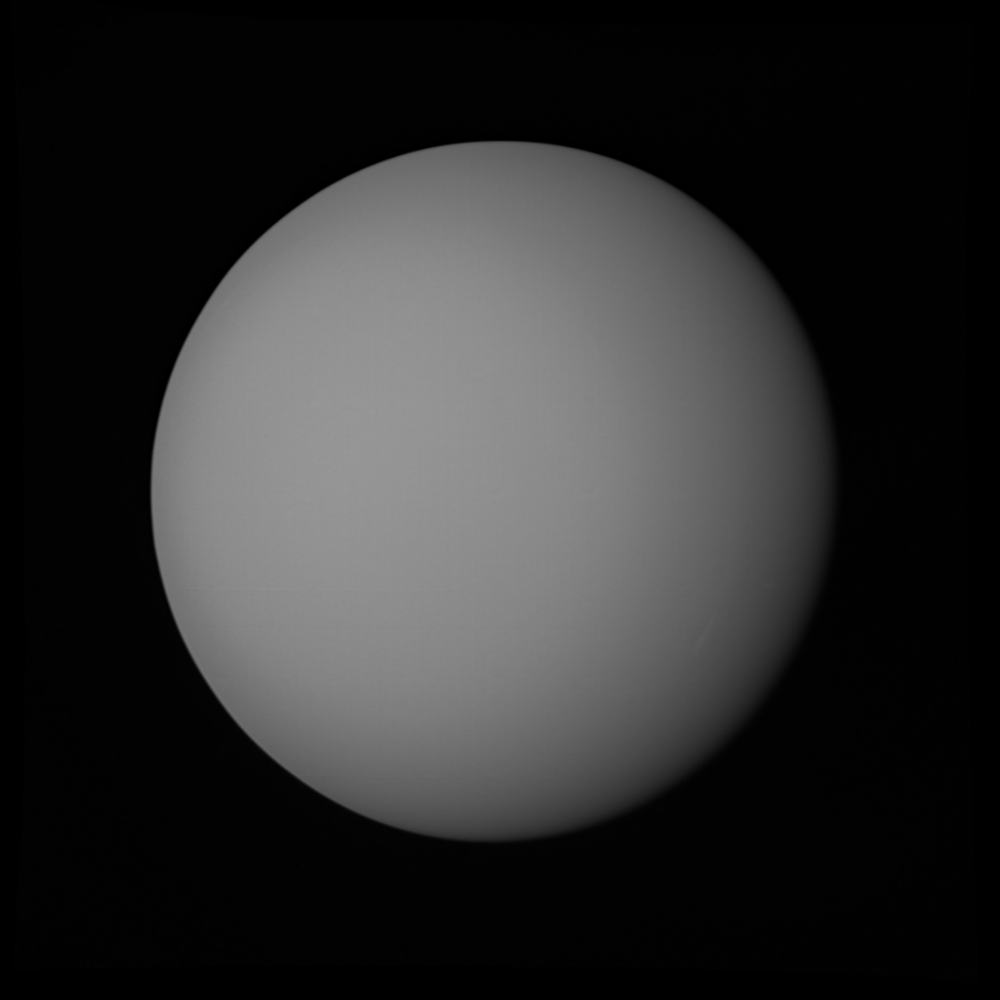
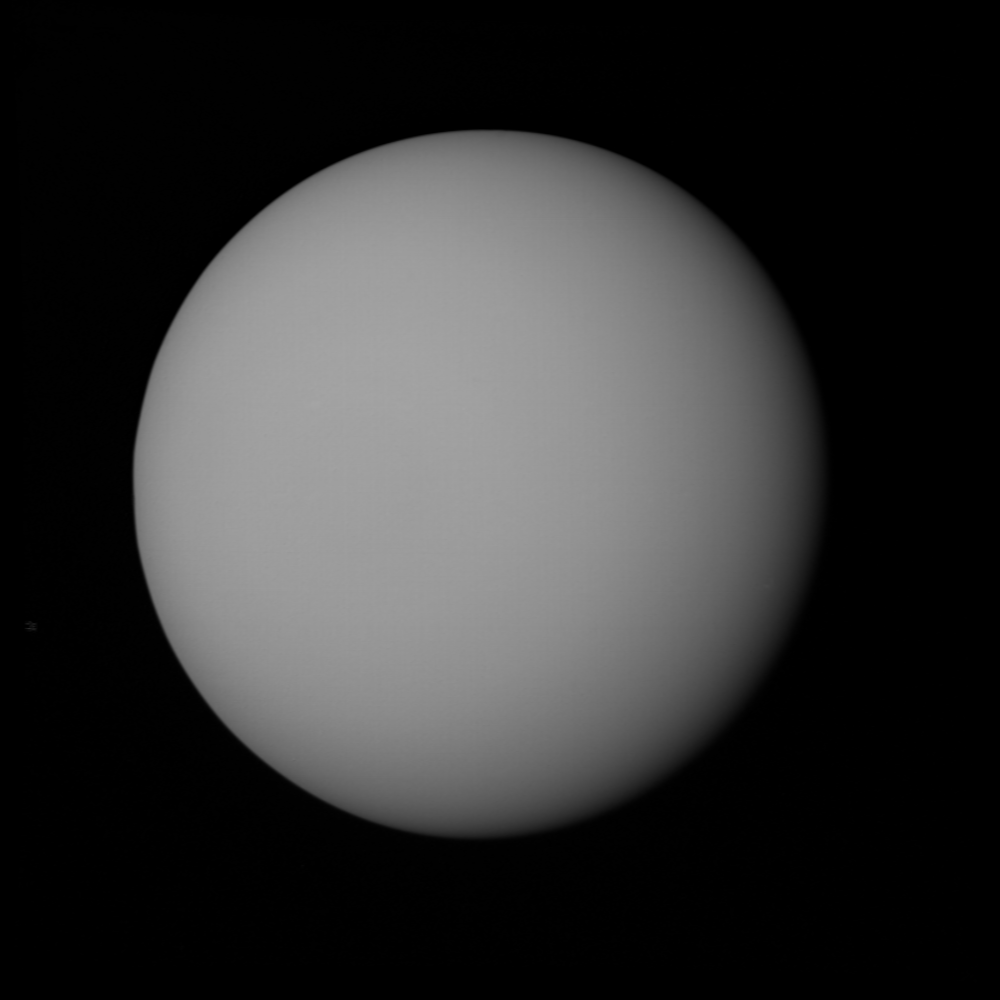
The goal of this tutorial is to enhance the visibility of features in the Uranian atmosphere from Voyager 2 data. Uranian cloud belts are mostly obscured by haze in the visible spectrum, but are very faintly visible in the yellow-orange wavelengths of Voyager's orange filter. Our assumption is that if we extrapolate from the trends we see in the existing filter set, an artificial red or near-infrared filter will have more prominent cloud belts. This assumption is backed up by ground-based observations in the years since the Voyager flyby, which show that these cloud belts are indeed more prominent in the infrared. We will use color extrapolation to create an artificial red filter where these features are more prominent. We will be using images C2681942 (violet filter), C2681954 (green filter), and C2682012 (orange filter) for this project. I have already preprocessed these images for you so that we can jump right in.
Our first step will involve image subtraction. We're doing this because the orange filter contains some signal that we want (specifically, cloud bands visible at red wavelengths), but it is mixed with signal we don't want (atmospheric haze at blue/green wavelengths). The violet image makes a reference image for subtraction, because its signal is entirely atmospheric haze. Copy the violet image into a new layer on the orange image.
We need to align the two images. Uranus looks a little larger in the orange image because Voyager 2 was approaching the planet at 18 km/s, so it had closed by nearly 26,000 km in the time between acquisition of the violet and orange images. After aligning, set the blending mode to "Subtract", and you should see something that looks like this:
You can clearly see a bullseye pattern of lighter and darker clouds centered around the planet's south pole. These are the cloud belts we're processing for. If you also notice, the sharp edges of the planet are now very blurry. This is due to atmospheric scattering when viewing at very shallow angles through the atmosphere, which preferentially scatters more violet light back to the viewer than orange light. These areas have been entirely subtracted away. We'll deal with that in a bit.